How to create digital photo booth props in Snappic
Today we are going to go over how to create a custom digital prop in Snappic.
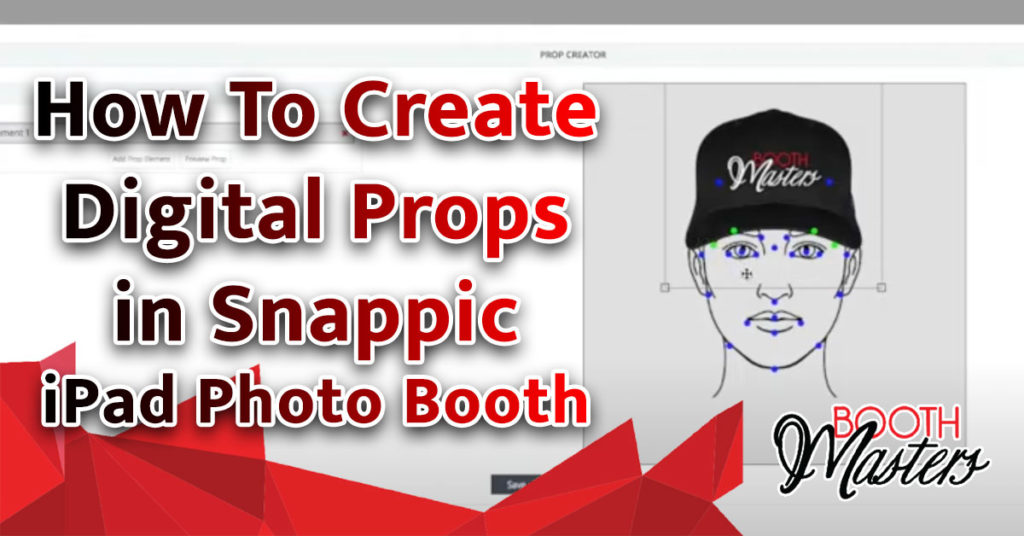
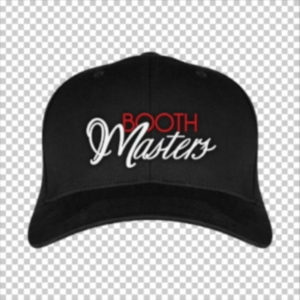
Here we have a custom hat I created, with the dimensions of 600px by 600px, and a transparent background.
All digital props must be saved as PNG files with the transparent background to work properly.
Once you have your file saved, you are now ready to save your event and import your digital prop.
If you do not have image editing software such as Photoshop, there is a free open source version at gimp.org
There are several tutorials on YouTube on how to use this software (gimp), for example deleting the background to create a png file for a digital prop.
Let’s move on to the Snappic digital props selection screen.
On the first screen, you want to select “manage props” so you can upload your new image.
Once in your prop library on the top right, click “create new prop”‘
Then to your left, click “add prop element”.
Now that your digital prop is uploaded, you can now resize it to fit proportionally on the head outline.
Just grab one of the corners and enlarge or shrink to fit.
To reposition the image, just click and hold and slide it into position.
Once you have your digital prop positioned and sized the way you want it, the next step will be assigning it facial recognition points.
Snappic iPad photo booth software requires at least 4 facial recognition points. You can use more, but 4 is the minimum.
For this example, I’m going to use the minimum of 4 points at the brim of the cap.
With iPad Photo Booth Software like Snappic
Creating Custom Digital Props Is Easy
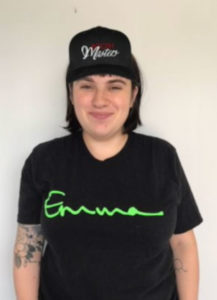

Now click save at the bottom of your screen and give your prop a name.
After giving your digital prop a name, then click “OK”.
You should now see your new prop in your prop library, also when you hover over your prop, you can either edit, purchase, or delete the prop.
Then in the upper right, click “close”, this will take you back to the digital prop selection screen, where you can now choose your custom prop.
Now scroll down and click “save”
You should now see your digital prop set up for your event, then click save changes.
All that is left now is to test your event with your digital prop.
If it’s off centered or needs to be resized, just go back into your digital prop screen and adjust accordingly.
We hope this helped!
