Booth Masters Presents:
How to Build an iPad Photo Booth Kiosk
Assembling the Pic Station Mini is a straightforward process.
In 8 simple steps and less than 5 minutes you can build your own iPad based photo booth kiosk.
Step 1:
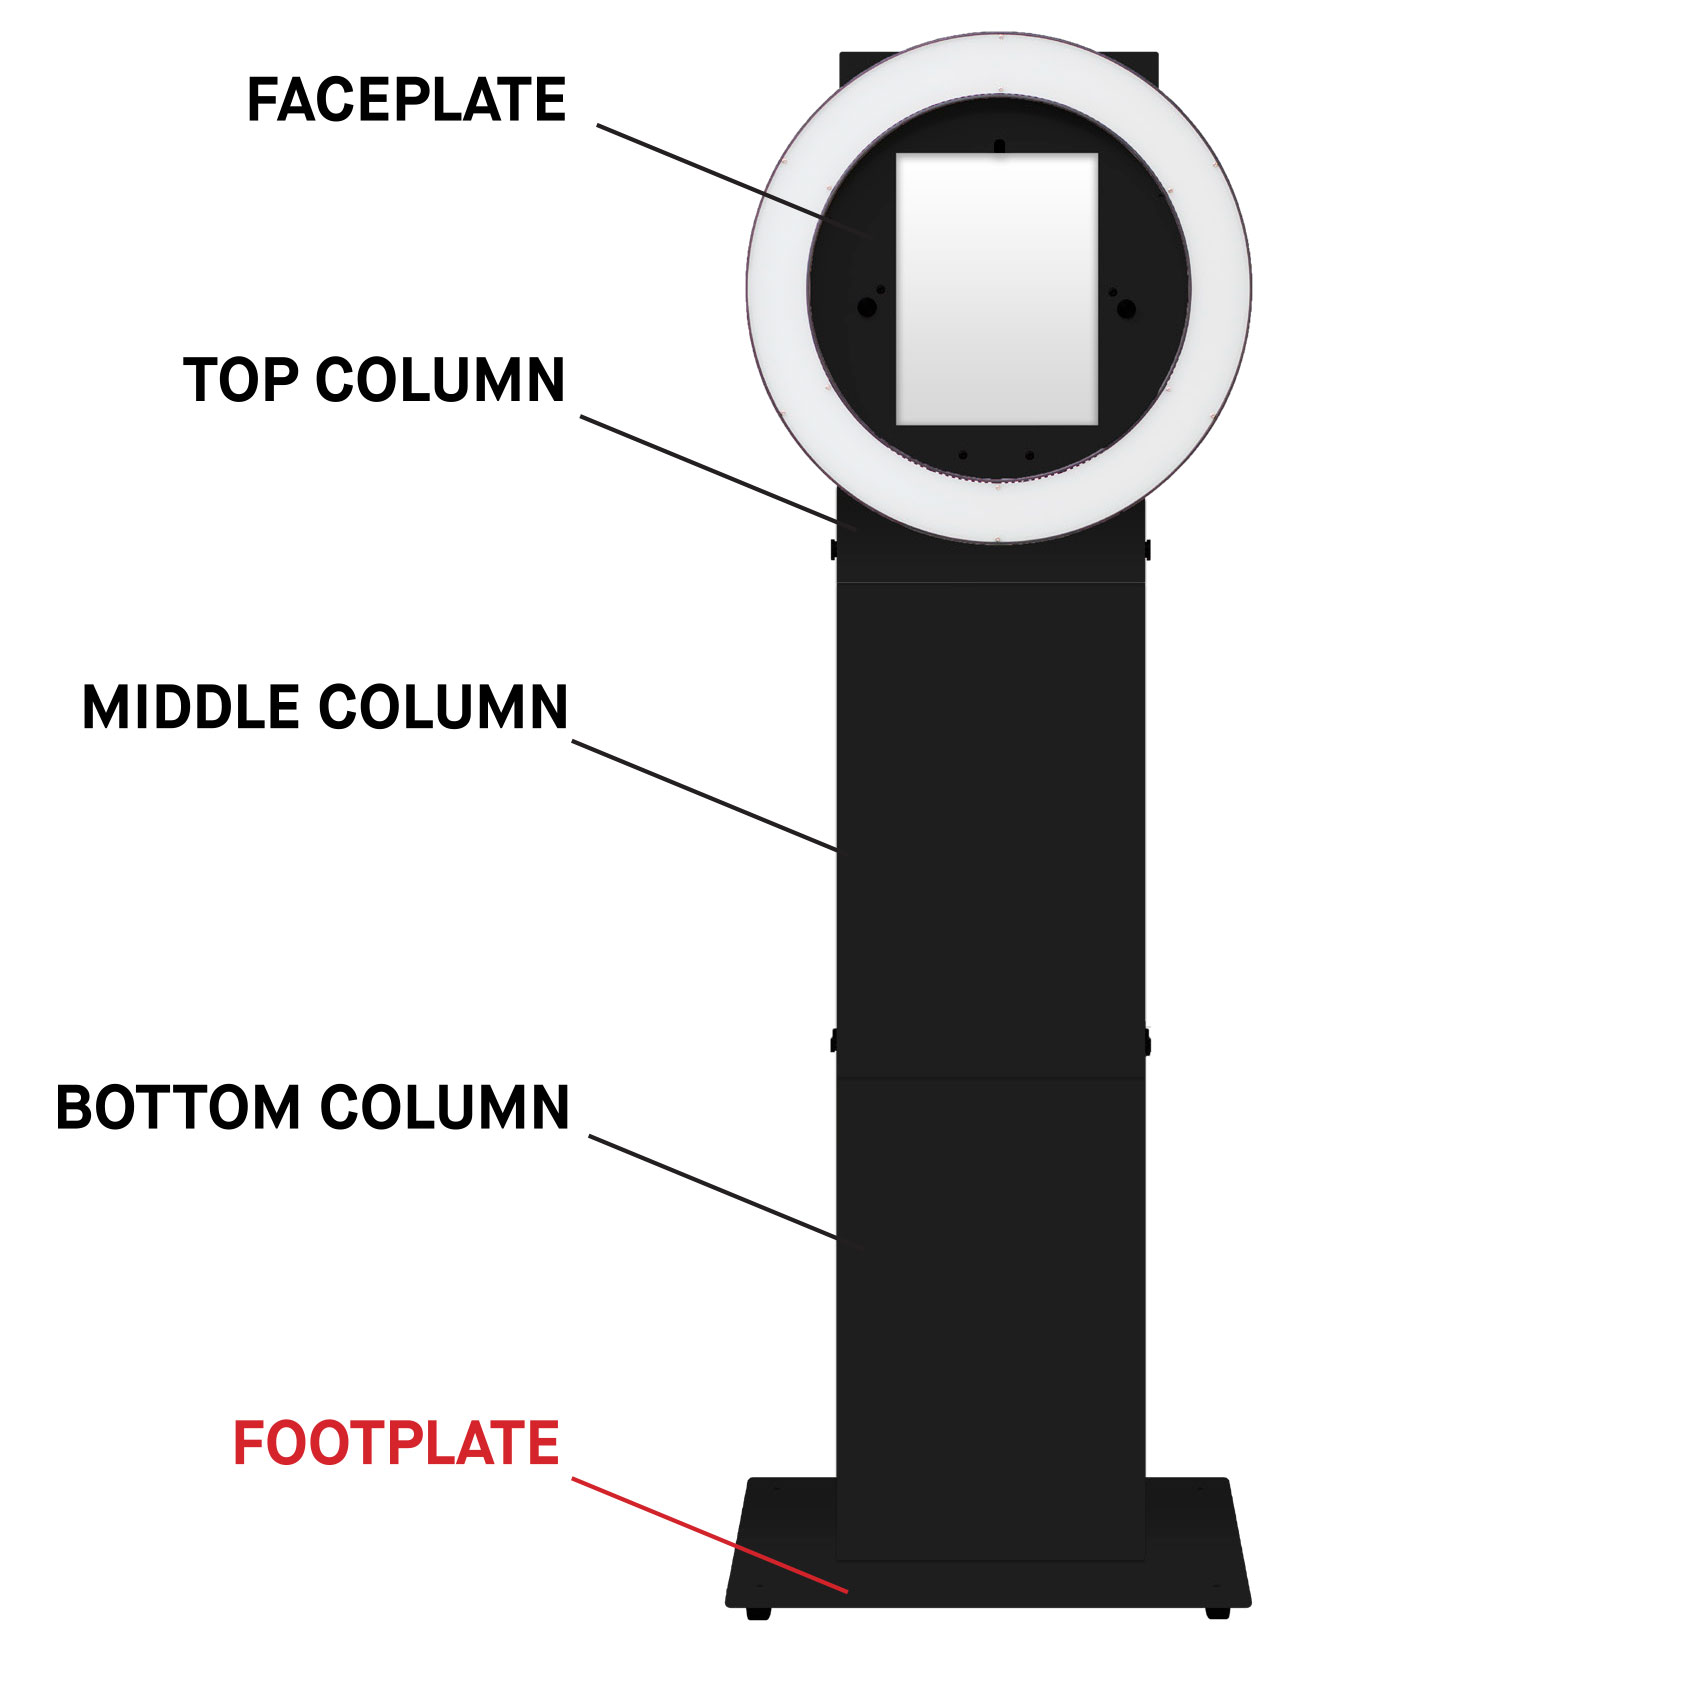
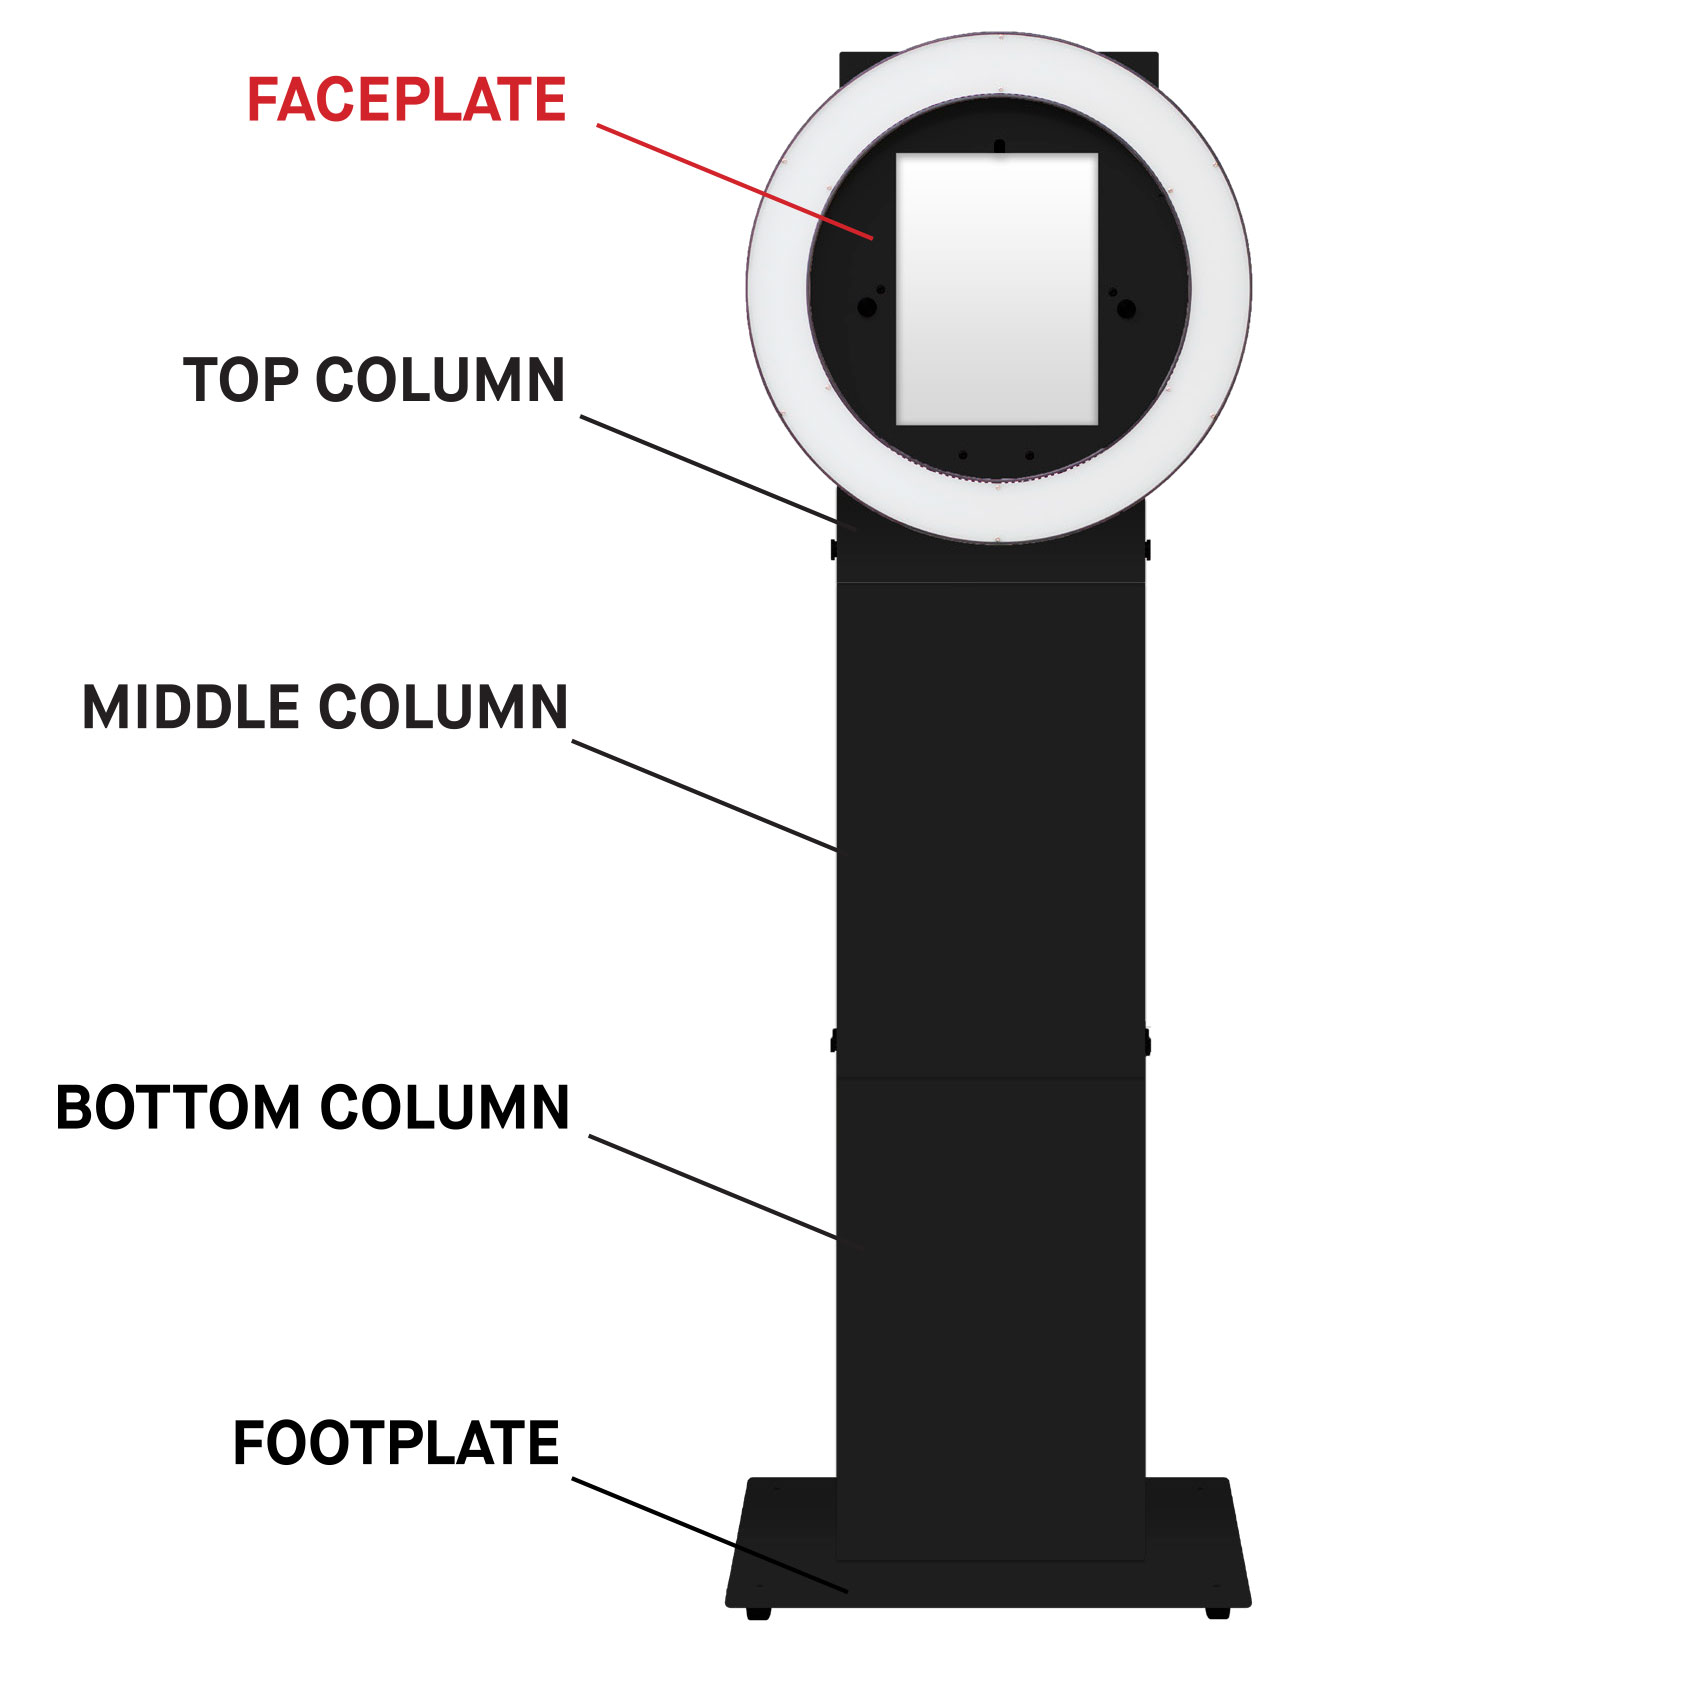
Place the bottom column on the floor upside down with the 4 screw holes facing up.
Set the foot plate on top of the bottom column, lining up the screw holes for both the foot plate and the bottom column.
NOTE: Make sure that the rubber feet on the bottom of the foot plate are pointing up.
Step 2:
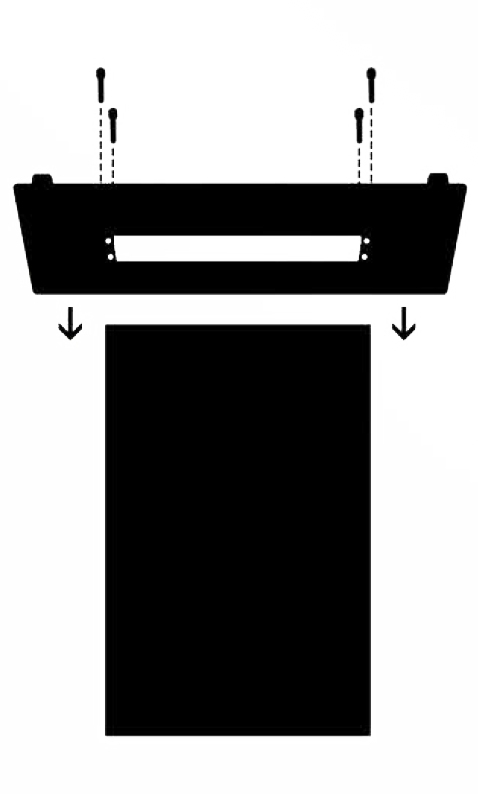
With the holes lined up, insert the 4x foot plate screws and tighten hand tight only.
NO POWER TOOLS NEEDED.
Step 3:
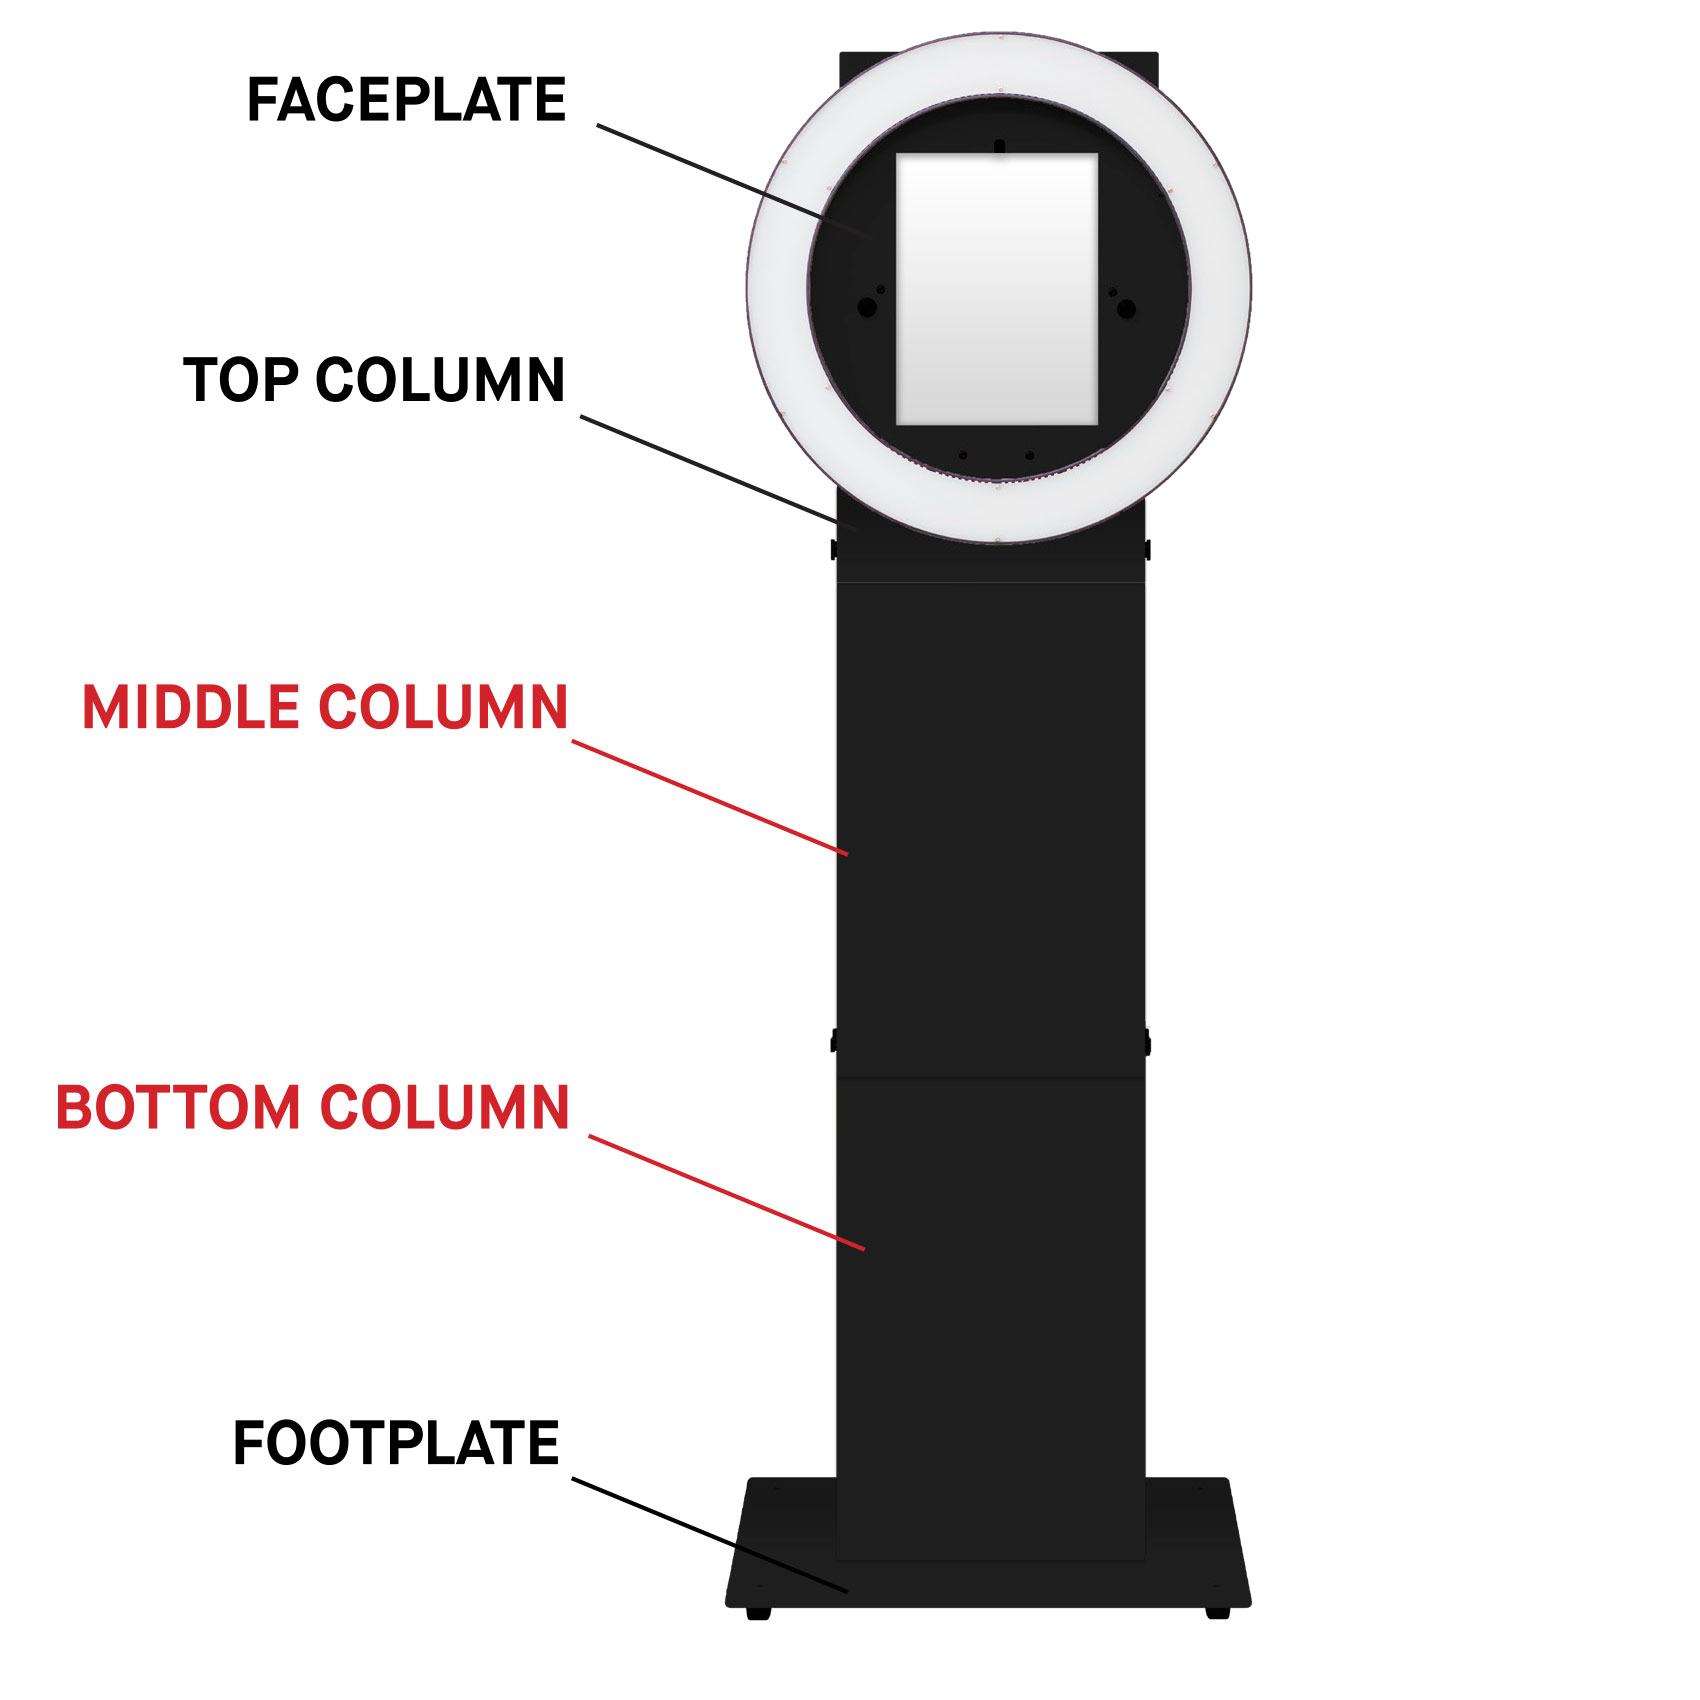
Flip the assembly over with the rubber feet on the ground. Take the middle column and insert it into the bottom column, lining up the screw holes.
Step 4:
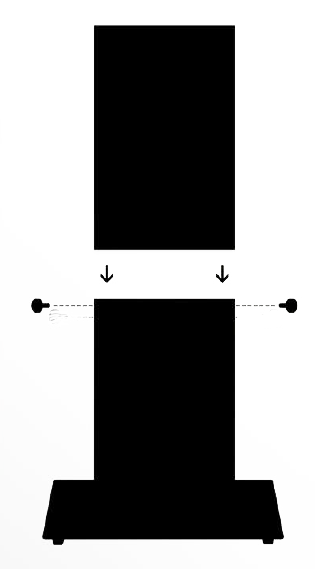
With the holes lined up, insert the thumb screws and tighten hand tight only.
NO POWER TOOLS NEEDED.
Step 5:
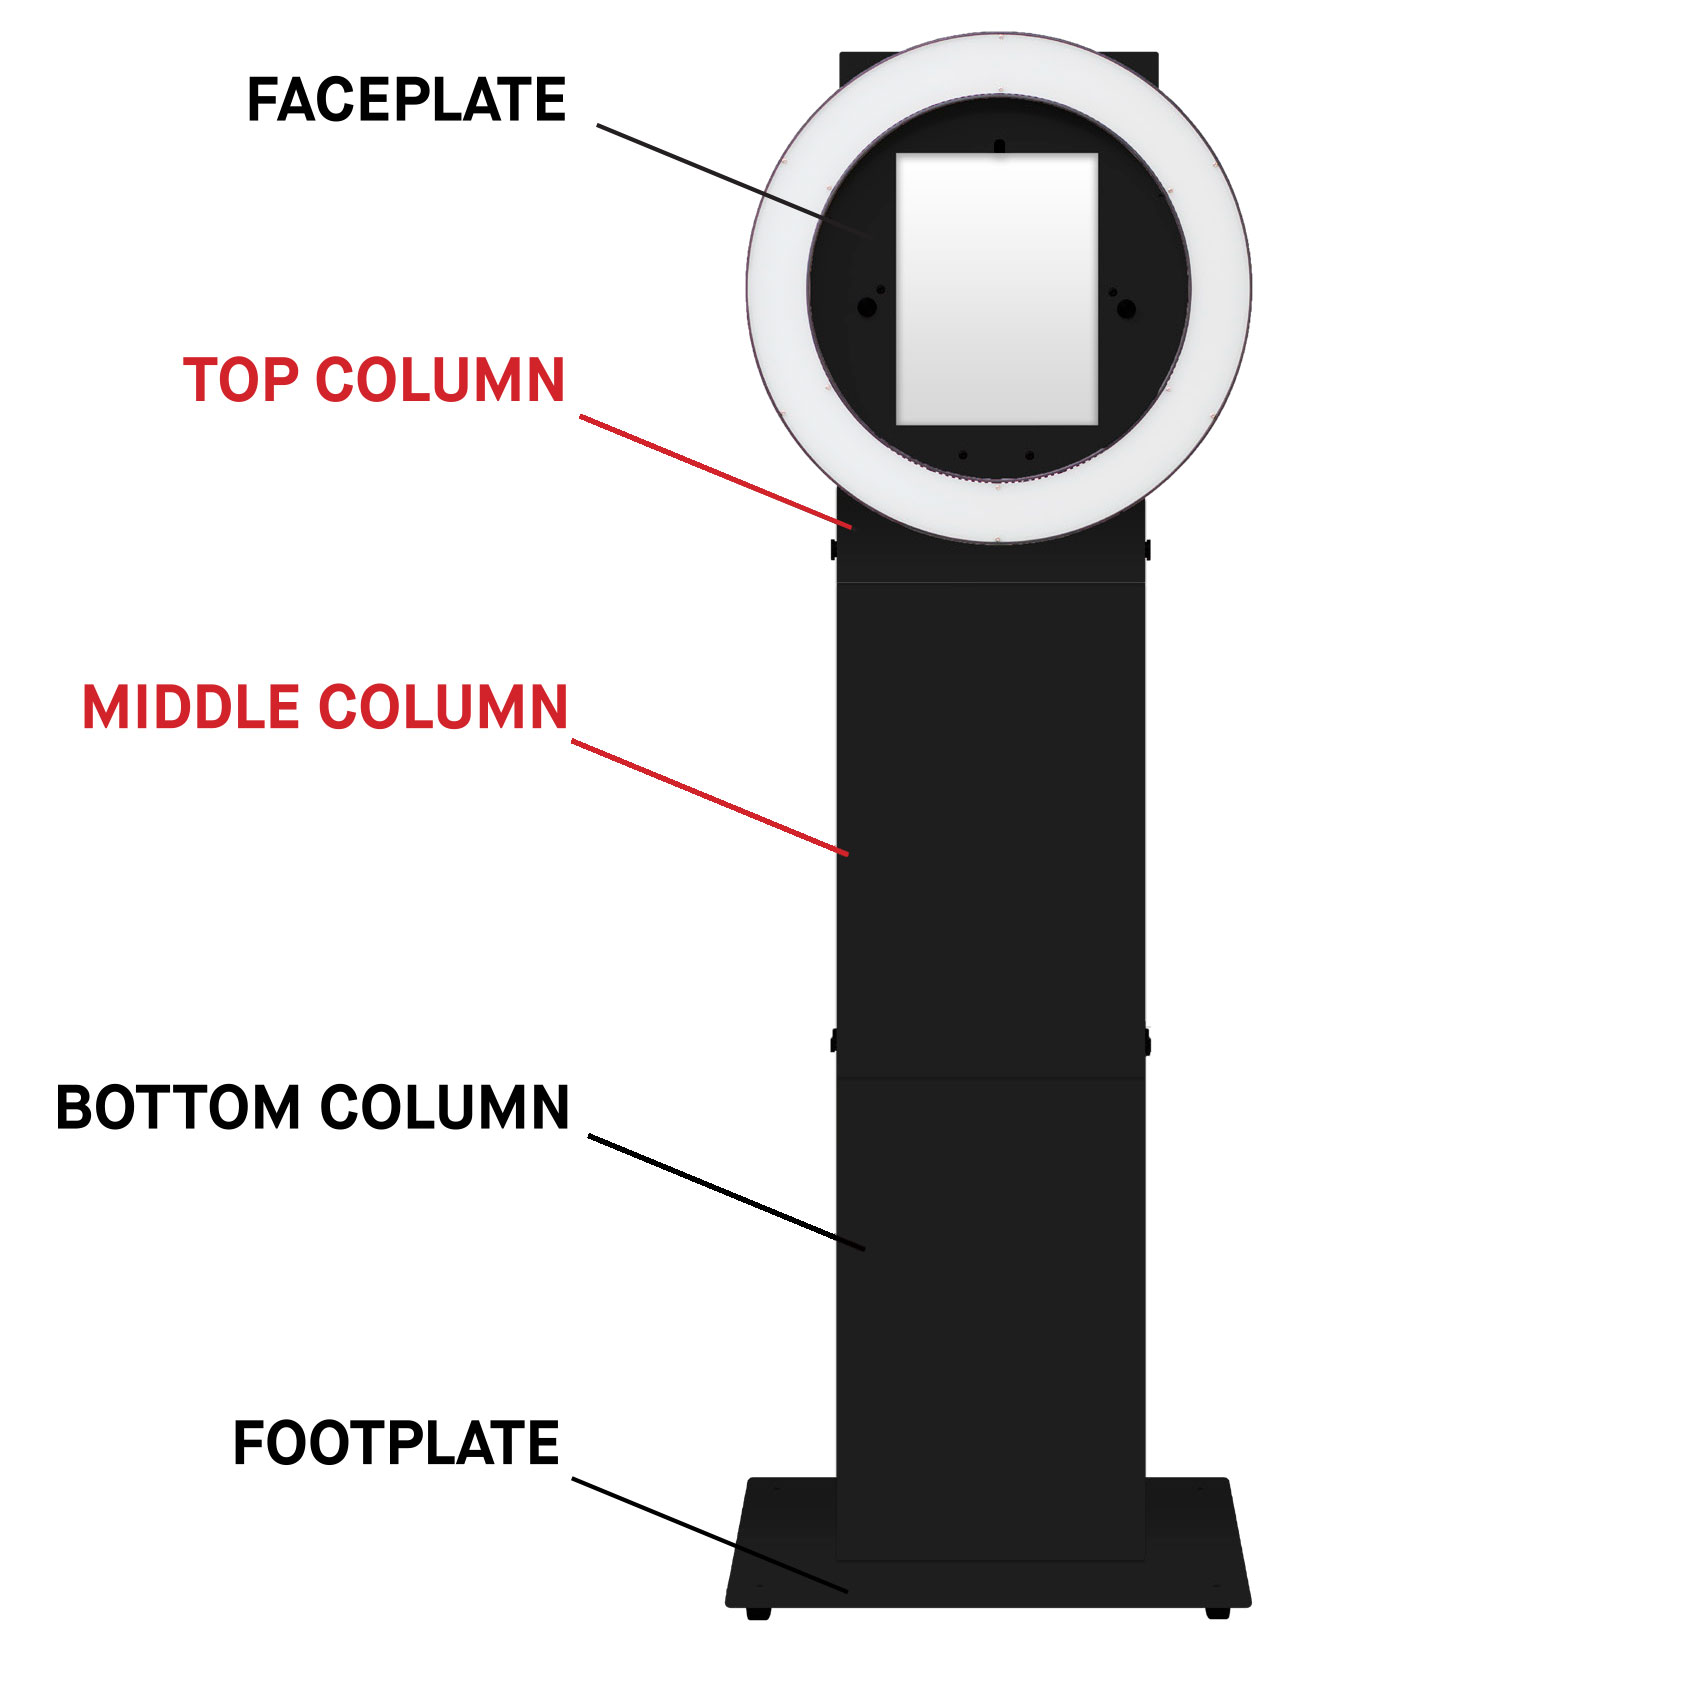
Take the top column and insert it into the middle column, lining up the screw holes.
Step 6:
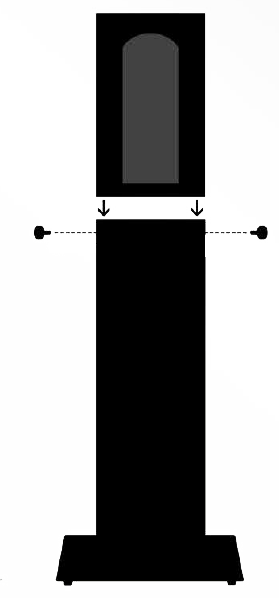
With the holes lined up, insert the thumb screws and tighten hand tight only.
NO POWER TOOLS NEEDED.
Step 7:
Now that the column is fully assembled, you will need to locate the screws for the face plate to line up with the corresponding holes on the front of the top column.
Depending on the face plate you are using with your Pic Station Mini, the face plate will attach with either 2 screws, one on either side, or with 4 screws, one in each corner.
Step 8:

With the holes lined up, insert the 2 Face Plate Thumb Screws and tighten hand tight only.
NO POWER TOOLS NEEDED.

